An Error in Calculation is a Sub Mission in Nioh 2. This mission is recommended for level 27, has a level 4 difficulty, and features yokai enemies. An Error in Calculation tasks players with retrieving Maeda Toshiie's valuable item, an abacus. This mission is unlocked after completing the Main Mission: The Hidden Monsters of Okehazama. Please see Missions for other walkthroughs on other missions.

General Info
- Recommended Lvl: 27
- Mission Lvl. Difficulty: 4
- Bosses: none
Video Walkthrough
[video goes here]
Map
[map goes here]
Mission Rewards
First Time Completion
- Warrior's Cross Spear x1
- Abacus x1
- High-Quality Leather Platelet x3
- High-Quality Leather Cord x3
- 8600 Gold
- 3712 Amrita
Subsequent Completion
- ??
- ?? Gold
- ?? Amrita
NPCs
- none
Bosses
- none
Items
Collectibles
Equipment & Materials
- Random Weapons
- Random Armor Pieces
- Elixir
- Stone
- Arrow
- Tamahagane
- Sacred Arrow
- Quality Lacquer
- Warped Jawbone
- Rifle Ammunition
- Gunpowder Bomb
- One-eyed Oni Loincloth
Soul Cores
- Gaki Soul Core
- Enki Soul Core
- Waira Soul Core
- Dweller Soul Core
- Nure-Onna Soul Core
- Toxic Slime Soul Core
- One-eyed Oni Soul Core
- Biwa Boku-boku Soul Core
Key Items
- n/a
Enemies
An Error in Calculation
Mission Start Text
Um, can I ask you to do something for me? And to keep it a secret from Tokichiro?
You see, I dropped something very important in Okehazama. I wanted to go back and get it, but the place is teeming with Yokai, and painful though it is to admit, I wouldn't last long out there. I'm sorry to have to ask, but could you go and retrieve the item for me?
It really is irreplaceable. Please do this for me.
Mission End Text
Oh, it's you! ...And that's my abacus! No doubt about it! And it looks like you didn't get a scratch on the frame or beads. Thanks greatly, you've really helped me out!
...Oh, this thing? Well, I got it from Kami back when I was exiled from the Oda clan. I may not look like it, but I'm pretty good with numbers. I've done all manner of calculations on this contraption. Well, I'm the backbone of my family, so I need to be on top of things! Ha ha ha!
Hmm, do you have something you want to say?
Look, if you're after a reward, I can sort something out for you.
Kodama Locations
- none
Sudama Locations
- Take the path that's going up towards the upper section of the cave engulfed with the dark realm from the location of the hot spring. Once you enter the first room of the cave, look to your right, you'll find some boxes and you'll see the Sudama behind it.
Scampuss Locations
- Scampuss can be found at the starting point of the main mission: The Hidden Monsters of Okehazama. Make your way down the steep path where the Karasu Tengu is, or through the cave with the Dark Realm and use the ladder to climb down that spot.
Spa Locations
- The Hot Springs is at the same location where you found it during the main mission: The Hidden Monsters of Okehazama. From the starting point, when you find yourself back inside the cave where you encounter two Toxic Slime, by the entrance, head out the exit that's on the right and you'll find the hot spring there.
An Error in Calculation Walkthrough
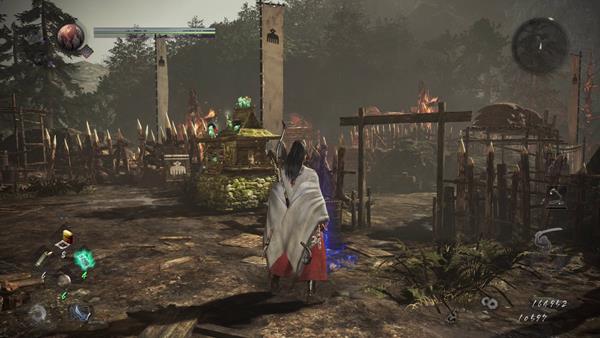
You'll arrive in Okehazama, west of Owari Province. Maeda Toshiie has asked for your help to retrieve his prized item, an abacus. Follow the marked location which will lead you to a cave engulfed with the Dark Realm. Players arrive at the barricaded post where Imagawa Yoshimoto was encountered during the main mission: The Hidden Monsters of Okehazama. Before you proceed forward, make sure to check the area where the shrine is, you'll find some items inside some wooden boxes and there's also a small chest that you can open.
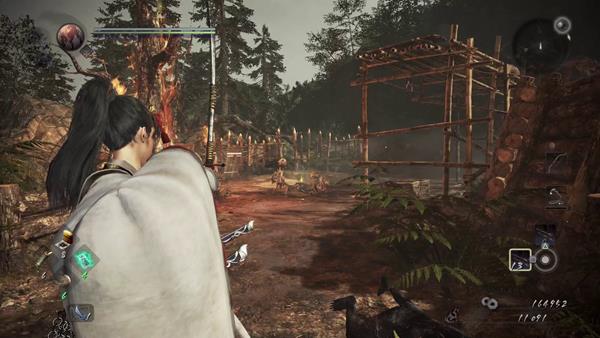
After your preparations, and once you've looted the area, proceed forward where you'll come across two Gaki feeding on a corpse on the left, and one on the right standing next to a burning tree. Kill the enemies, loot the bodies, then proceed into the cave.
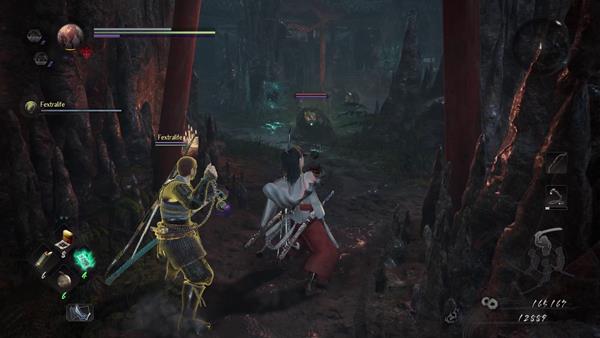
Inside the cave, you'll encounter two Toxic Slime yokai enemies, you can instantly kill it by using an Iga Gunpowder Bomb. After killing the slimes, head inside the shrine that's in the middle where you'll find another Gaki and a new yokai, a Karakasa Umbrella. You'll find a small and large chest inside the shrine, also make sure to check the well that's around the corner of the shrine, you can strike it to obtain a random item.
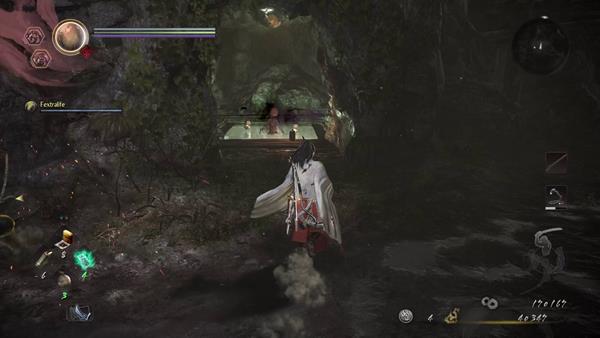
You can also find a hot spring outside if you exit through the door that's on the left, it's at the same spot where you found it during the main mission: The Hidden Monsters of Okehazama. However, there's a Gaki inside it and a Toxic Slime that's just above it, you can use the hot spring after killing both Yokai that's on the spot. If you continue to take that path ahead, you'll encounter more Yokai and reach the upper section of the cave that's engulfed with the Dark Realm and you'll find the source of it which is the Waira yokai (make sure to kick down the ladder to open a shortcut).
x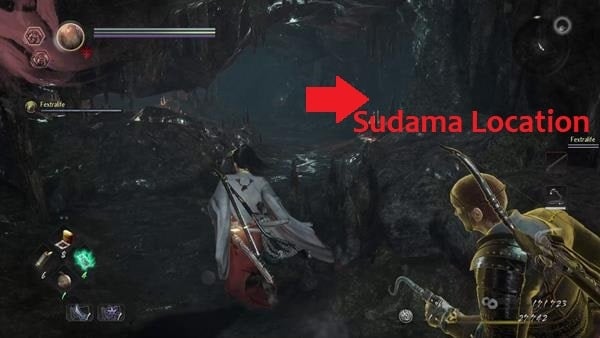
Also, in the first room of the cave, you'll find a Sudama behind some boxes on the right side of the first room of the cave - after you've secured the upper section, go back to the first cave where you encountered the two Toxic Slime yokai.
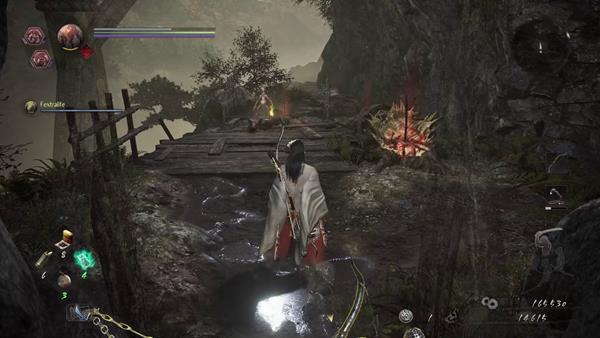
After that's done, head out the shrine, and go through the door that's surrounded by plants on the right side. You'll exit the cave and come across another Gaki standing at the edge of a broken bridge. Kill it, then cross the other side by using the knocked down tree. On the other side, there's another Gaki standing by the entrance of another cave that's engulfed by the Dark Realm on the right side, and a Karasu Tengu straight ahead of the steep path - kill the enemies, then enter the cave with the Dark Realm.
Cave: Dark Realm

Inside the cave, you'll see a One-eyed Oni patrolling, an Enki that's looting, and a Biwa Boku-boku sitting by the path that's on the left. The Dark Realm inside this cave is different from the others, if there are bloody graves inside, their spirit will attack you and appear in their Yokai Shift form for a period of time before it reverts back to its human form. From where the Biwa Bok-boku was, go through that path and head to another room where you'll encounter a couple of Dweller yokai.

From that room, head outside, climb down the ladder, and you'll find yourself back at the starting point during the main mission The Hidden Monsters of Okehazama - you'll find a Scampuss at the bottom that's being guarded by a Dweller.
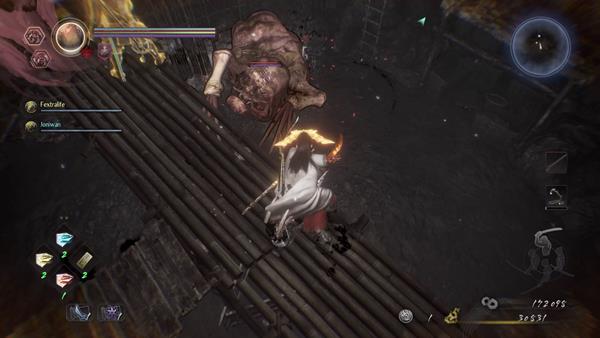
The source of the Dark Realm is the Waira located at the inner section of the cave, you'll have to defeat it so that you can dispel the field and open the large chest where you'll find Maeda Toshiie's abacus. Just be careful since there is a couple of Dweller yokai in the same room that will also attack you. The chest containing the item is in the same room as where the Waira was - once you retrieve the item, you'll complete this mission.
Video
[video goes here]
Map
[map goes here]
Trivia & Notes:
Trivia and notes go here
 Anonymous
For those struggling with fighting the Waira alongside a revenant that auto spawns in Yokai shift, the Biwa Boku-Boku in the room adjacent to the Waira is causing the revenants to spawn. There is an alternate path from the room with the toxic slimes that takes you around the other side to this room with the Biwa, Enki and One Eye. You can lure out the Enki and One Eyed Oni one at a time then use a firearm to one shot the Biwa from a distance it won't spawn revenants from. Sometimes however if you play online player graves can pretty much force you to fight one in some cases due to their position from the Biwa (right at the hallway from outside into the Biwa room for example). This way though you can at least fight everything one by one, and then focus on the Waira at the end on its own.

 Anonymous

Alternatively to below, killing the Waira completes the mission, auto-killing the Biwa and all other enemies in the process. If you can buff up, drop attack the Waira then throw yokai abilities/shift and burst it fast you won't need to fight a revenant as it'll die alongside the Waira soon as you kill it.
1
+10
-1