In the Eye of the Beholder is a Main Mission in Nioh 2. This mission is recommended for level 114, has a difficulty level of 5, and features both human and yokai enemies. In the Eye of the Beholder tasks players with finding the man with the staff and the woman, William is after. Please see Missions for other walkthroughs on other missions.

General Info
- Previous: The Blue-eyed Samurai
- Next: A Song to Calm the Storm (DLC)
- Recommended Lvl: 114
- Mission Lvl. Difficulty: 5
- Bosses: Otakemaru
Video Walkthrough
[video goes here]
Map
[map goes here]
Mission Rewards
First Time Completion
- Book of Reincarnation x1
- Zen Manual x1
- 31200 Gold
- 73176 Amrita
Subsequent Completion
- ??
- 31200 Gold
- 731176 Amrita
NPCs
Bosses
Items
Collectibles
Equipment & Materials
- Random Weapons
- Random Armor Pieces for:
- Heirloom Armor
- Firestarter Armor
- Saika Clan Armor
- Footsoldier Armor
- Golden Sun Armor
- Arrowsbane Armor
- Tiger of Higo Armor
- Golden Gourd Armor
- Justice Ministry Armor
- Child of the Sun Armor
- Wandering Shrine Maiden's Armor
- Random Items:
- Salt
- Stone
- Elixir
- Arrow
- Toshiie's Abacus
- Explosive Rounds
- Small Spirit Stone
- Rifle Ammunition
- Lantern Plant Fruit
- High-Quality Ingot
Soul Cores
Key Items
- none
Enemies
In the Eye of the Beholder
Mission Start Text
The woman from a foreign land that William is chasing after seems to be up to no good. However, I'm far more curious about that man with the staff. If he intends to stir up war again, then we have no choice but to stop him.
We don't have time to sit around mulling things over. We need to get moving. It's the only way we're going to find answers
Mission End Text
We need to set out and prevent the seeds of war from being sown.
Let's get going, Hiddy.
Kodama Locations
- none
Sudama Locations
- none
Scampuss Locations
- From the first shrine, jump down the bridge from the tower. Exit the walkway on the left side and go inside the room that's also on the left where you'll find the Scampuss.
Spa Locations
- ??
Locks Locations
- Onmyo Mage's Locks can be looted off a skeleton corpse. It's found at the edge of the wooden platform where you encounter the Mezuki roaming outside the closed house on the left side.
- Ninja's Locks can be found inside a large chest located in the tower at the top area. You'll need to kill the Magatsu Warrior yokai first located at the bottom of the tower to dispel the dark realm.
In the Eye of the Beholder Walkthrough
The Slayer and the Samurai

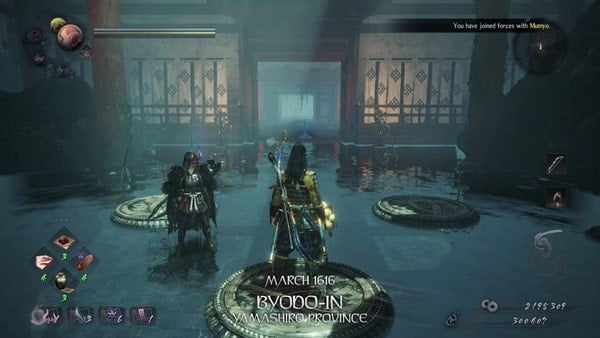
The year is March 1616 and players arrive at Byodo-In in Yamashiro Province. At the starting point, you'll see Mumyo and she'll join your party and accompany you. And at the exit of the temple, you'll find William who will also join your party as a companion. So for this mission, you'll be exploring the area with two NPCs. You'll find the first shrine outside the walkway of the balcony as well as a skeleton that you can loot. As you head down the stairs, you'll enter the dark realm within the tower. The bridge is rotated the other way around, so you'll have to jump down onto the bridge below you.

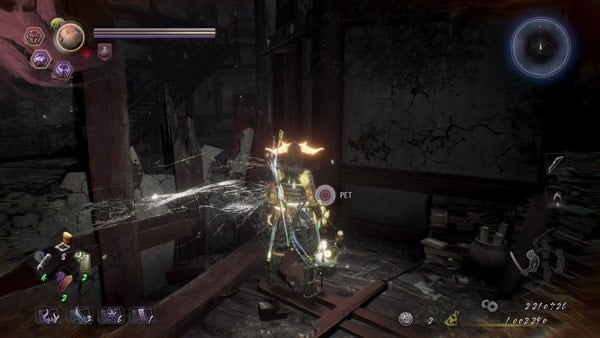
You may want to grab the Scampuss first, it's in the room on the left side. Just exit out the walkway balcony from the left side upon landing on the bridge below you. Then go inside the room that's on the left, you'll find the Scampuss at the corner next to the debris. Go back inside the tower and head towards the other side of the bridge then go right. You can jump down onto the platform below you from the door. And you'll find the lever inside the room behind you which rotates the bridges inside the tower. Pull it, then cross the small bridge and head outside the tower where you'll re-enter the dark realm on the left side.

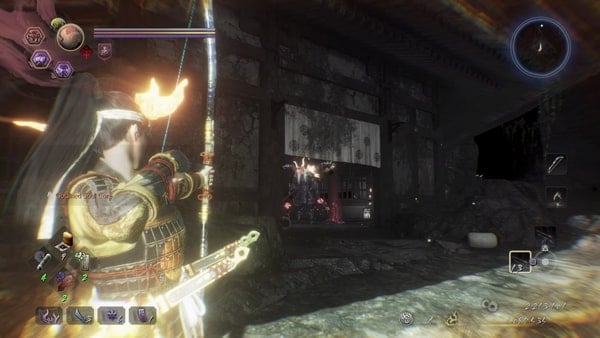
You'll encounter another Yoki wielding two swords along the way, kill it and follow the path and you'll find the source of the dark realm inside the other end of the tower which is a Magatsu Warrior. After killing it, continue straight towards the path outside the tower and climb the ladder at the end. Go around the cliffside path from the left and you'll encounter another Yoki wielding a Kusarigama and two Aberrant Soldier on the wooden platform. After clearing the area, retrace your steps and head towards the far opposite end of the path outside the tower where you'll see a yokai mist in the middle of the large wooden platform.

As soon as you jump down onto the platform, a Gozuki will appear from the mist and the area will be engulfed with the Dark Realm. You will need to defeat it to dispel the field. After killing it, head up the slope made out of branches where you'll encounter two more Yoki. Once you've killed both yokai, head inside the top section of the tower and open the chest containing 1x Ninja's Locks. After that's done, just go down the stairs and go out of the tower.

You'll reach a large platform at the end where you'll see two Yoki yokai enemies inside a large glass cylinder. As soon as you approach the platform, the two Yoki will break out of the glass and attack you. After killing the yokai, climb up the ladder and you'll see a Magatsu Warrior in the middle of the red torii gate. You need to go inside the house that's on the right side, but you can clear the outside area of the house that's on the left side first where you'll see a Mezuki roaming.

After you kill the Mezuki, make sure to loot the skeleton that's hanging by the edge of the platform. You'll find 1x Onmyo Mage's Locks from the skeleton corpse. Now, head in the house on the right side and you'll come across two Tesso in the room. Make sure to also open the chest inside the room on the left where the Tesso was. After clearing the first floor, climb up the ladder that's in the other room where you'll find yourself in another Dark Realm and encounter an Ubume and Tengu, killing the Ubume will dispel the dark realm. You'll find the second shrine ahead from the blocked door.
Second Shrine

Make sure you pray at the second shrine. Since you'll encounter a lot of yokai along the way until you reach the gate that leads to the boss for this mission. By the shrine, you'll first encounter an Aberrant Soldier and a Yoki inside the large glass cylinders. And as you reach the gate, there will be more Aberrant Soldier and Yoki. And just before you open the gate, another Magatsu Warrior will spawn from the yokai mist that's blocking the gate - when you're ready, open the door and a cutscene will first trigger before facing the boss.
Boss Battle: Otakemaru

For the final main mission, William and Mumyo won't be with you and you'll be fighting against Otakemaru. At the beginning of the battle, he will use and shift into the three yokai forms, Brute, Feral, and Phatom. Only at the time if his health reaches 50% is when it reveals its true form and changes its moves and attacks, and at 25% of its HP, it will change its attacks again. In total, there are three phases you'll need to withstand in order to beat this boss and to complete this mission. So remember, that when its Yokai Shift forms, its attacks are similar to yours. The Brute form consists of mostly close-range melee attacks, the Phantom form is more on long-range shifting attacks, while the Feral form is more on fast, blinking mid-range attacks. If you're fast enough in depleting its health down to 50% it won't be able to shift into all three forms, but instead, it will constantly conjure the Dark Realm. Just be cautious when you are fighting Otakemaru in the Dark Realm.
Otakemaru Battle Phases:
1) 50% ~ 100% Health: He can transform into all three of the player Yokai Shifts: Feral, Brute and Phantom.
- Brute: While he is the brute form he will be slow. Try to get near him, so he attacks you. Dodge backward, wait for his combo to finish and then go in to deal some damage
- Feral: While in the feral form he is very agile and it's very difficult to keep track of his attacks. Try to stay at a medium distance and force him to use his burst attack. When he does, perform a counter burst to stop him and deal damage.
- Phantom: When he shifts into Phantom, run near him and attack him as much as you can.
2) 25% ~ 50% Health: He will transform into a Yokai and use a one-handed sword. He can use three types of swords: Fire, Water, and Lightning. His attacks depend on the type of sword he is using, so keep an eye on his sword to be ready for his attacks.
3) 0% ~ 25% Health. When he drops to 25% health he will summon 4 floating hands and his swords will hover around him. He will gain new attacks and will be able to swap swords faster.

Once it shifts into its true form, you want to make sure that you are constantly moving around to avoid getting hit by its attacks. Be patient and when you see an opening, that's when you attack. To learn more about this boss, click here. Successfully defeating this boss will reward you with random weapons and armor pieces, along with its soul core, Otakemaru Soul Core and Smithing Text: Raijin's Claw. Interact with the glowing orb to leave the area and a couple of cutscenes will then trigger - this marks the completion of the final main mission and of the game.
Video
[video goes here]
Map
[map goes here]
Trivia & Notes:
Trivia and notes go here
